AC Parts Explained: Simplify Your Knowledge of HVAC Systems
Unlock the mysteries of HVAC systems with our comprehensive guide on AC and furnace parts. Simplify your knowledge and enhance your comfort at home!


You chose a ductless mini-split system for its quiet, efficient comfort. It was a smart investment in your home. Now, you’re asking the next logical question: "How do I protect that investment?"
You've probably seen conflicting advice online some guides cover only filters, others talk about odd smells, and many leave you wondering if you can handle the job yourself. The truth is, proper maintenance is the single most important factor in your system's performance and longevity.
Failing to maintain your mini-split isn't just a minor oversight. Industry data shows that a system with dirty filters and coils can be forced to work 5% to 15% harder just to keep you comfortable. That's a direct hit to your monthly energy bill. More importantly, consistent care can add years to your unit's lifespan, while neglect can lead to premature and expensive breakdowns.
This guide cuts through the noise. We’ll walk you through what you can do, what you should leave to a professional, and why it all matters for your comfort, your wallet, and your home’s air quality.
Think of your system's health in terms of a simple schedule. Some tasks are quick monthly check-ins, while others are deeper seasonal cleanings.
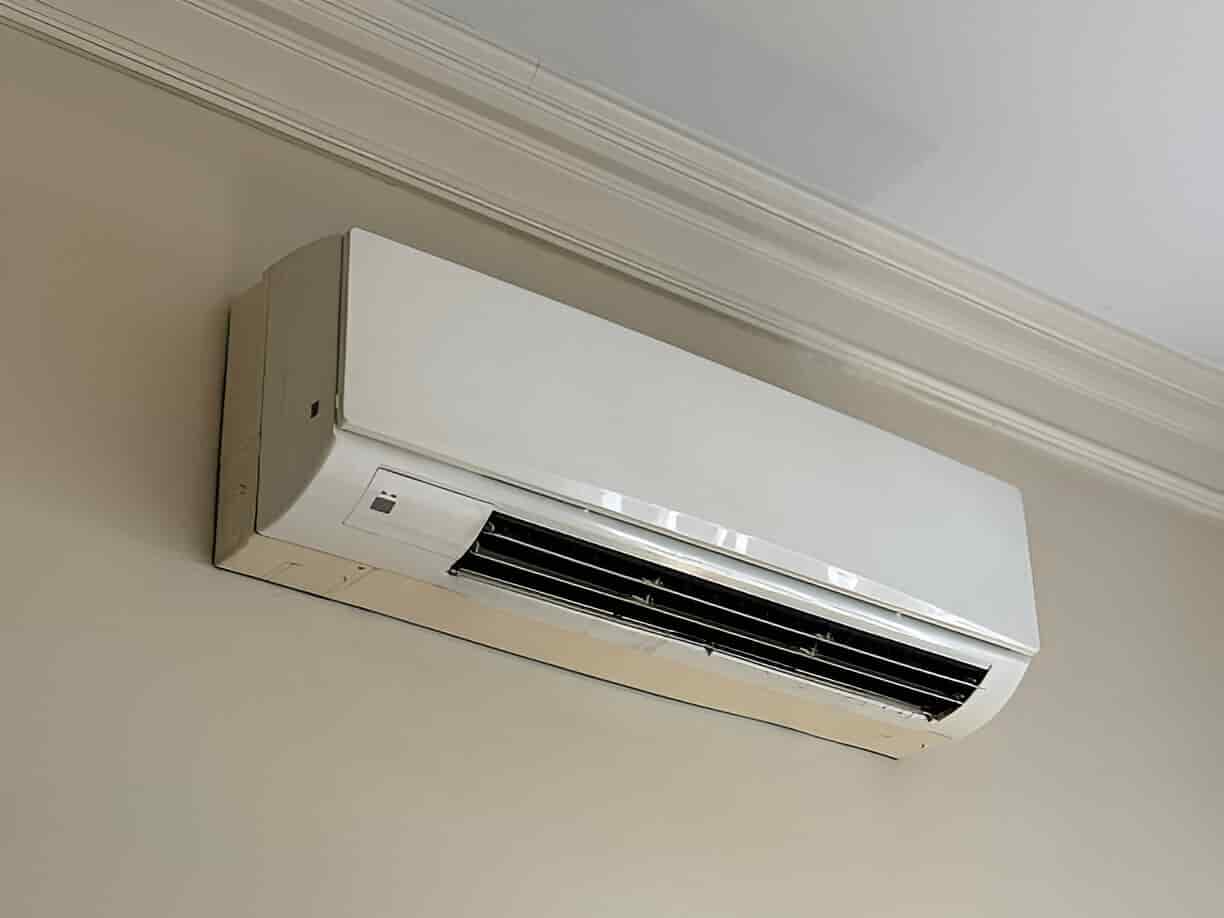
The indoor unit, or "head," is what delivers conditioned air directly into your living space. Keeping it clean is non-negotiable for both efficiency and your health.
This is the easiest and most impactful task you can perform. A clogged filter restricts airflow, forcing the system to run longer and harder. It’s like trying to breathe through a cloth.
General Steps:
Pro-Tip: Brand-Specific Notes
While the process is similar across brands, there are small differences. For example, some Mitsubishi models have an additional anti-allergy enzyme filter that may need replacing, while many Mr. Cool units have a simple, easy-to-remove tab design. Always check your owner’s manual, but the core "wash-and-dry" principle applies to nearly all standard mesh filters.
Behind the filters lie the evaporator coils and the blower wheel. This is where dust that bypasses the filter ends up. The moist, dark environment of the coils is a prime breeding ground for mold and bacteria, which is often the source of a musty or "dirty sock" smell.
Cleaning these components is a more involved task and a great example of where the line between DIY and professional service begins to blur. While DIY cleaning kits are available, an improper cleaning can damage the delicate fins on the coil or miss the hidden grime on the blower wheel.
If you notice a persistent musty odor or can see visible buildup on the coils, it’s a clear sign that a deep cleaning is overdue. This is a core part of our air conditioning repair and maintenance services, where our technicians use specialized tools and non-corrosive, coil-safe cleaners to flush the entire system without risk to your unit or your home.
The outdoor condenser is the workhorse of your system. Its job is to release heat absorbed from inside your home. If it can't breathe, your system can't cool effectively.
How to Clean the Outdoor Unit (Annually):
Confident DIY maintenance is fantastic for your system's health, but the smartest homeowners know when to call for backup. You can handle the filters and clearing debris, but certain tasks are best left to a certified technician.
Call a professional if you notice:
A professional HVAC tune-up goes beyond cleaning. Our technicians perform a multi-point inspection that includes checking refrigerant pressure, testing electrical connections, lubricating moving parts, and ensuring your system is operating safely and at peak efficiency. It’s the ultimate peace of mind.
1. How do I know if my mini-split has mold?
The most common sign is a persistent musty smell when the unit is running. You may also see black or dark green specks on the vents or behind the filters on the coils. If you suspect mold, a professional deep cleaning is the safest and most effective solution.
2. Can I use a household cleaner on the coils?
No. Harsh chemicals and acidic cleaners can corrode the aluminum fins and copper tubing, causing permanent damage and potential leaks. Always use a pH-neutral, foaming coil cleaner specifically designed for HVAC systems.
3. Is a maintenance plan really worth it?
For most homeowners, yes. A maintenance plan ensures you never forget your annual tune-up. It often includes benefits like priority service and discounts on repairs. More importantly, it catches small problems before they become major, expensive failures, easily paying for itself in energy savings and extended equipment life.
Maintaining your ductless mini-split doesn't have to be complicated. By following a simple schedule of filter cleanings and keeping an eye on your system, you can handle the basics with confidence.
And for the rest? We're here. The team at Signature Heating & Air Conditioning has been the trusted partner for homeowners across Chester, Delaware, and Montgomery Counties for years. Our certified technicians have the expertise to keep your system running flawlessly.
If your system is due for a check-up or you’re facing an issue you can’t solve, schedule your professional tune up with Signature Heating & Air Conditioning today. Let us help you enjoy the full comfort and efficiency of your investment for years to come.


The team at Signature Heating & Air did an excellent job with our new AC installation. They were professional and timely from the onsite quote to the final installation. Their attention to detail was top notch and I highly recommend anyone to give them a call.

I had a very positive experience with all the folks at Signature! Very professional, knowledgeable and honest. They installed a new A/C unit and kept my place clean and they worked with precision and efficiency. Highly recommend them!
I called Signature Heating & Air this morning for a relatively simple job of installing an Ecobee smart thermostat. Quentin came right on schedule and handled it efficiently. He was very helpful and patient to show me how the thermostat worked, etc. Thanks again! I highly recommend this company.
Timely, professional and reasonable pricing. They just replaced both my AC and furnace in about 4 hours. Cleaned up and all is running smoothly. I recommend and will use again when needed.
Steve was great and very professional. He came out and got my HVAC running the same day that I called. I will be using him and his company for my any furnace and AC problems and maintenance.


.webp)
Wisetack - 0% APR up to 24 months (on approved credit)