AC Parts Explained: Simplify Your Knowledge of HVAC Systems
Unlock the mysteries of HVAC systems with our comprehensive guide on AC and furnace parts. Simplify your knowledge and enhance your comfort at home!


You've done the research. You know that a ductless mini-split system can solve comfort issues in that new addition, stubborn hot spot, or converted garage. But now you’re facing the real hurdle: installation.
A quick search reveals a world of DIY tutorials and confident YouTubers on one side, and professional quotes on the other. You’re caught in the middle, trying to answer a critical question: Can I tackle this myself to save on costs, or is hiring a professional the smarter, safer investment?
This guide is designed to give you the clarity you need. We'll break down the entire process, from costs to connections, so you can make a decision with confidence.
The choice between DIY and professional installation boils down to a trade-off between your budget, your time, and your tolerance for technical risk. Let's look at the numbers.
Approach Average Cost Range Key Considerations
Professional Installation| $2,000 - $14,500 Warranty protected, code compliant, no special tools needed, faster completion, guaranteed performance.
DIY Installation $700 - $5,000 + Tools Significant savings on labor, but requires technical skill, specialized tools, and carries risks (voided warranty, refrigerant leaks, safety hazards).
Data compiled from reports by Angi and This Old House.
The potential for savings is tempting. With professional labor costs ranging from $75 to $150 per hour, doing it yourself can seem like a clear financial win. However, this path requires a significant investment in specialized tools and a deep understanding of processes that, if done incorrectly, can lead to costly damage.
There is a third option many homeowners consider: the Hybrid Approach. This involves handling the physical mounting of the indoor and outdoor units yourself but hiring a licensed HVAC technician and an electrician for the final, critical connections. It can be a good compromise, but it's essential to find professionals willing to work on a partially completed installation.
That $2,000 to $14,500 range can be confusing. Why the huge gap? The price you pay is influenced by several key factors beyond just the unit itself. Understanding these variables is the first step in creating a realistic budget.
Beyond the unit and basic labor, several other costs can impact your total investment:
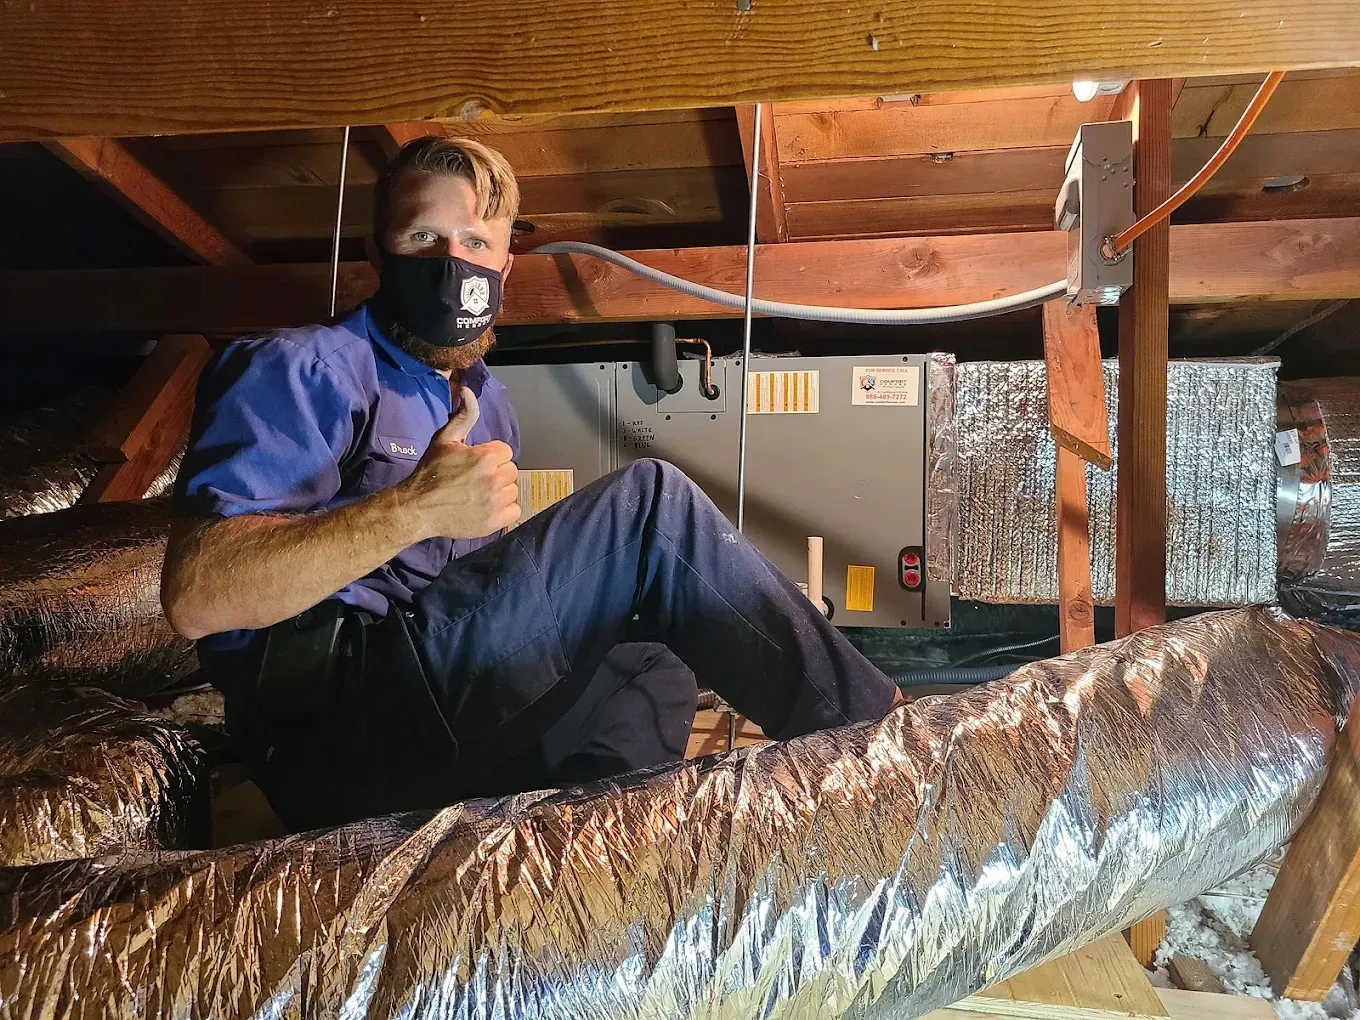
Whether you plan to DIY or want to understand what a professional installer will be doing in your home, knowing the step-by-step process is crucial. This isn't just a list of tasks; it's a roadmap to a successful, high-performing system.
A successful project starts with preparation. This means having every tool and part ready before you begin. Beyond a standard toolset (drill, level, wrenches), a proper mini-split installation requires specialized HVAC equipment, including:
Renting or buying these tools adds to the cost and complexity of a DIY project.
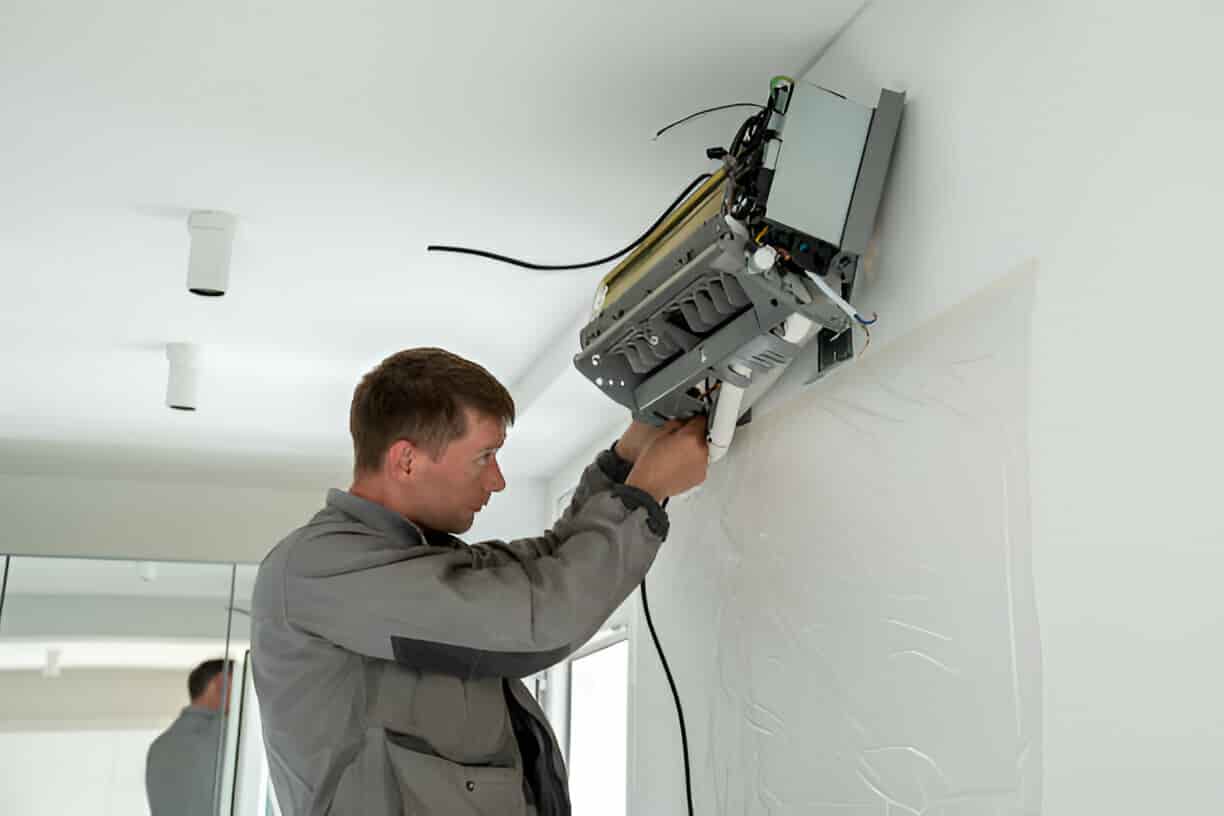
Where you place the units matters for performance and maintenance. The indoor unit needs to be high on a wall with adequate clearance above and to the sides for airflow. The outdoor condenser needs to be on a solid, level surface (like a pre-cast pad) with plenty of space around it for air circulation and future service access. This is a critical first step when designing your home's heating and cooling solution.
First, the metal mounting plate is securely fastened to the wall studs. It must be perfectly level to ensure the unit's internal condensate pump functions correctly and doesn't lead to water leaks down the road.
A hole, typically 2.5 to 3 inches in diameter, is drilled through the exterior wall to pass the line set through. It's crucial to drill this at a slight downward angle from inside to outside, ensuring that gravity helps the condensate drain line remove moisture properly.
This is a delicate step. The bundled line set which includes two copper refrigerant lines, a communication wire, and the condensate drain hose is carefully fed through the hole from the inside. The copper lines are soft and can be easily kinked, which would restrict refrigerant flow and cripple the system.
The outdoor unit is placed on its pad and secured. It must be perfectly level to ensure the compressor's internal oil circulates properly for a long and efficient service life.
This is the most critical stage and where most DIY installations fail. Handling high-voltage electricity is dangerous and should be performed by a licensed electrician. Furthermore, handling refrigerant without EPA 608 certification is illegal and poses environmental risks. Improperly flared refrigerant lines are the #1 cause of leaks, leading to poor performance and expensive repairs.
The copper lines are connected to the outdoor unit using flare nuts. Creating a perfect flare requires a specialized tool and practice. Each nut must then be tightened to a precise specification using a torque wrench. Too loose, and it will leak. Too tight, and you can crack the flare, causing a leak.
This step is non-negotiable and separates a professional installation from a risky amateur one. A vacuum pump is connected to the system to remove all air and, more importantly, all moisture from the refrigerant lines. Even a tiny amount of moisture can turn into corrosive acid inside the system, destroying the compressor over time. A micron gauge is used to confirm a deep vacuum has been achieved.
Before releasing the refrigerant, a professional will often pressurize the system with dry nitrogen to perform a leak test, ensuring every connection is perfect.
Only after the system is confirmed to be sealed and moisture-free is the factory-charged refrigerant released from the outdoor unit into the lines. The system is then powered on, and the technician will run it through its cycles, measuring temperatures and pressures to confirm everything is operating to manufacturer specifications.
The temptation to save on labor is strong, but a single mistake can cost far more than you would have paid a professional. The most common DIY failures we see include:
Can a homeowner install a mini-split themselves?
Technically, yes, with the rise of "DIY-friendly" kits. However, as this guide shows, the process involves significant risks. The most crucial steps—high-voltage electrical wiring and certified refrigerant handling—are best and often legally required to be performed by licensed professionals.
What is the main disadvantage of a mini-split?
The primary drawbacks are the higher upfront cost compared to window or portable units and the aesthetic of the indoor unit, which some homeowners find intrusive. However, their incredible efficiency and quiet operation are major advantages when comparing ductless systems against traditional central air.
Do you need a permit to install a mini-split?
In almost all cases, yes. The installation involves new electrical circuits and modifications to your home's envelope. A permit ensures the work is done to code, which is essential for your safety and for your homeowner's insurance to remain valid.
How long does a professional installation take?
For a standard single-zone system, a skilled professional can typically complete the installation in 4 to 8 hours. This includes all the critical testing and cleanup, ensuring your system is ready to run perfectly.
While the DIY path is paved with good intentions, the technical reality of electrical and refrigerant work presents significant risks. A single, unseen mistake can void your warranty and lead to repairs that cost more than the initial professional installation.
A professional installation from a certified team isn't just about paying for labor; it's an investment in peace of mind. It's a guarantee that every connection is secure, every procedure is followed to the letter, and your new system will perform efficiently and reliably for years to come.
When you're ready for a flawless ductless installation that's done right the first time, our expert technicians are here to provide a seamless, worry-free experience. Schedule your free consultation with Signature Heating & Air Conditioning today.


The team at Signature Heating & Air did an excellent job with our new AC installation. They were professional and timely from the onsite quote to the final installation. Their attention to detail was top notch and I highly recommend anyone to give them a call.

I had a very positive experience with all the folks at Signature! Very professional, knowledgeable and honest. They installed a new A/C unit and kept my place clean and they worked with precision and efficiency. Highly recommend them!
I called Signature Heating & Air this morning for a relatively simple job of installing an Ecobee smart thermostat. Quentin came right on schedule and handled it efficiently. He was very helpful and patient to show me how the thermostat worked, etc. Thanks again! I highly recommend this company.
Timely, professional and reasonable pricing. They just replaced both my AC and furnace in about 4 hours. Cleaned up and all is running smoothly. I recommend and will use again when needed.
Steve was great and very professional. He came out and got my HVAC running the same day that I called. I will be using him and his company for my any furnace and AC problems and maintenance.


.webp)
Wisetack - 0% APR up to 24 months (on approved credit)