


Furnace Installation in Castle Rock, CO
Upgrading or replacing a furnace in Castle Rock, CO is an investment in winter comfort, energy efficiency, and indoor air safety. With cold, dry winters, significant elevation, and a mix of housing styles from new builds to older craftsman homes, proper furnace installation matters more here than in many lower-elevation areas.
Why location matters: Castle Rock climate and elevation impacts
Castle Rock winters regularly drop into low temperatures and nights can be very cold. Combined with the town's higher elevation (around 6,200 feet), that means:
- Furnaces must deliver reliable heat output at altitude, where combustion behavior and air density differ from sea level.
- Longer run times are common, increasing the importance of efficiency and correct sizing to avoid short cycling and high energy bills.
- Ductwork and insulation quality directly affect comfort and cost because heat loss through ducts can be amplified in unconditioned spaces.
Pre-installation consultation and home assessment
A thorough pre-installation assessment prevents surprises and ensures the new furnace matches your home. Typical assessment items include:
- Home size, layout, ceiling heights, insulation levels, window performance, and occupancy patterns.
- Existing heating equipment type, age, and condition of the furnace, venting, and thermostat.
- Ductwork condition: leaks, insulation, sizing, and air balance.
- Fuel source availability and gas line capacity for natural gas systems.
- Venting route, clearances, combustion air availability, and potential obstacles for flue or direct venting.
- Electrical supply and location constraints for furnace placement.
- Required permits under Douglas County and Castle Rock municipal codes.
This consultation often results in a load calculation (Manual J) to determine the correct furnace capacity, and may recommend a duct design review (Manual D) if modifications are needed.
Proper sizing and ductwork considerations
Correct sizing is critical. An oversized furnace will short cycle, reduce comfort, and wear out components prematurely. An undersized unit will run constantly and may not meet heating demand on the coldest Castle Rock nights.
Key considerations:
- Manual J load calculation to pick the right output capacity for your home at Castle Rock winter conditions.
- Manual D for duct layout and sizing to ensure proper air flow and minimize static pressure.
- Addressing common duct issues in local homes: leaks at joints, undersized return paths, poorly insulated ducts in attics or crawlspaces, and unbalanced airflow.
- For high-efficiency condensing furnaces, plan for condensate drainage and ensure piping is insulated and slope-correct to avoid freezing in cold weather.
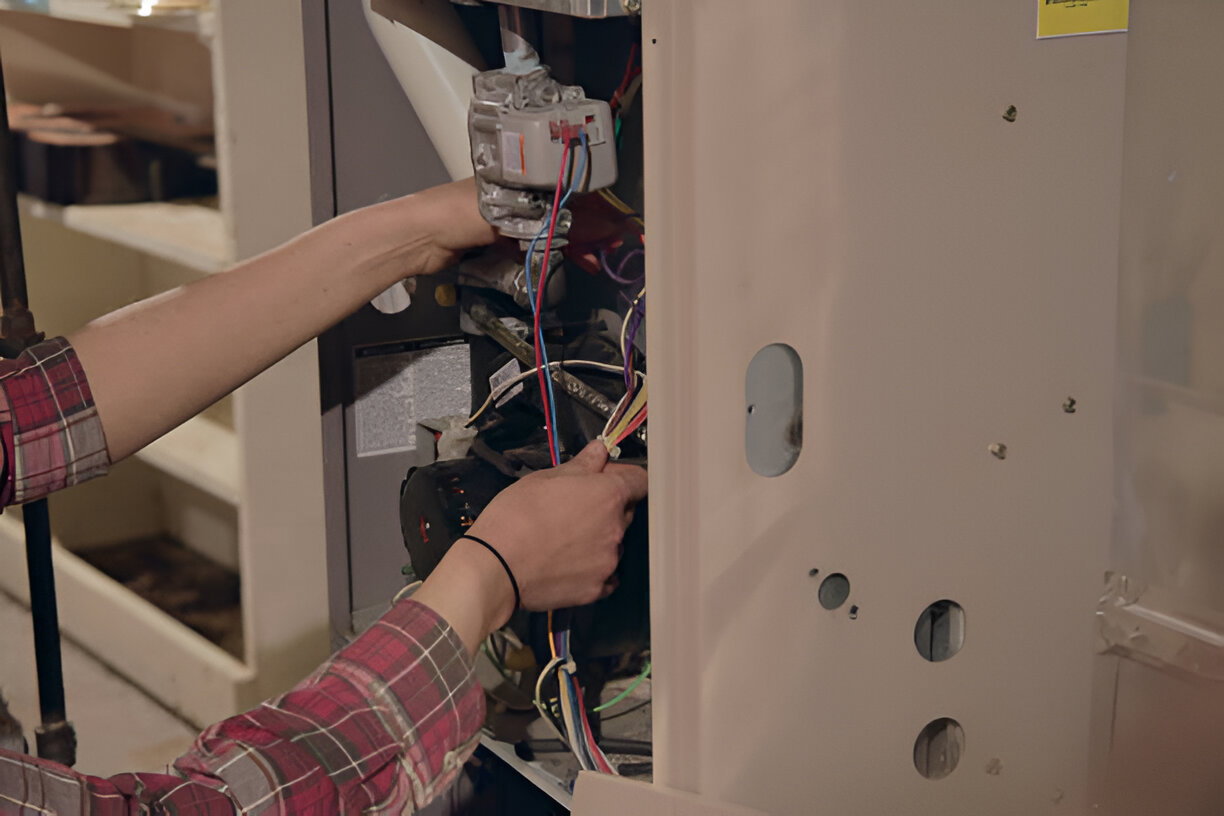
Step-by-step installation procedures
A typical professional furnace installation follows these ordered steps, adjusted to site specifics:
- Finalize equipment selection and verify manufacturer installation requirements.
- Pull permits and schedule inspections if required by local code.
- Prepare the installation area: clear access, protect floors, and isolate work zones.
- Remove the old furnace and prepare connections (gas, electric, duct collars, vent).
- Install the new furnace cabinet and secure it to required clearances and pad or platform.
- Connect ductwork: modify or seal connections, add transitions, and ensure return paths are correct.
- Complete gas piping and fittings per code, including shutoff valves and sediment traps where required.
- Install venting and flue components with proper seals, slopes, and clearances for combustion and exhaust.
- Make electrical connections and integrate control wiring with the thermostat.
- Set up condensate drain for high-efficiency units, ensuring proper slope and freeze protection if needed.
- Install and program thermostat and any zoning or air filtration accessories.
- Clean work area and prepare for testing.
Safety, code compliance, and local regulations
Safety checks and code compliance are non-negotiable elements:
- Gas connections must meet code and include leak testing and proper pressure checks.
- Combustion air, venting clearances, and flue installations must follow manufacturer specs and local code to prevent carbon monoxide hazards.
- Work is typically inspected by local authorities to meet Douglas County and Castle Rock ordinances.
- Electrical connections require proper breakers and grounding.
- Use of certified equipment and following manufacturer installation instructions helps preserve warranties.
Expected timeframe
Typical time ranges:
- Straight replacement (same location, no duct changes): 4 to 8 hours.
- Replacement with moderate duct modifications or venting changes: 1 to 2 days.
- New system with extensive ductwork, zoning, or structural work: 2 to 4 days.Weather, permitting, and unforeseen issues (corroded flue, inaccessible gas lines, major duct repairs) can extend timelines.
Startup and testing procedures
After installation, a thorough startup sequence confirms safe, efficient operation:
- Visual inspection and system power-up.
- Gas pressure and leak checks.
- Combustion testing and draft analysis when applicable, to verify proper flame, CO levels, and flue gas temperatures.
- Safety control tests (limit switches, pressure switches, ignition system).
- Airflow and static pressure measurements to confirm duct performance.
- Thermostat calibration and system cycling checks.
- Final leak sealing and insulation of duct connections.Documentation of test results and any adjustments made is part of a professional installation.
Manufacturer warranties and registration
Most furnaces include a manufacturer parts warranty and may offer extended coverage when registered. Important points:
- Some warranties require installation by a licensed or authorized technician to remain valid.
- Labor warranties differ from parts warranties; clarify who is responsible for labor and for how long.
- Keep the warranty and installation documentation in a safe place and register the product per manufacturer instructions.
Maintenance recommendations after installation
To protect your investment and maintain peak performance in Castle Rock conditions:
- Schedule an annual professional tune-up before heating season: clean burners, check heat exchanger for cracks, test safety controls, and verify combustion efficiency.
- Replace disposable filters every 1 to 3 months depending on filtration level and household factors. High-efficiency filters may need more frequent checks.
- Inspect and seal ducts every few years, and add insulation to unconditioned-space ducts if not already insulated.
- Check condensate lines and traps on high-efficiency furnaces for clogs or freeze risk; insulate or heat trace exterior runs when necessary.
- Monitor for unusual odors, increased fuel use, uneven heating, or frequent cycling and address problems promptly.
- Consider programmable thermostats or zoning to improve comfort and reduce run time.
Common furnace installation issues in Castle Rock, CO and solutions
- Undersized systems from inaccurate load assessments: solution is a Manual J calculation and correct equipment sizing.
- Leaky, uninsulated ducts in attic or crawlspaces: solution is sealing, insulating, and adding returns or balancing dampers.
- Combustion problems at high elevation: solution is selecting high-altitude compatible equipment or adjusting combustion settings per manufacturer guidance.
- Condensate freeze in exterior drain lines: solution is rerouting, insulating, or installing heat tracing.
Proper furnace installation in Castle Rock, CO combines careful planning, local code compliance, and attention to the unique demands of elevation and climate. When the process is done right you get safer operation, consistent comfort, and greater efficiency through the cold months.

Customer Testimonials

The team at Signature Heating & Air did an excellent job with our new AC installation. They were professional and timely from the onsite quote to the final installation. Their attention to detail was top notch and I highly recommend anyone to give them a call.

I had a very positive experience with all the folks at Signature! Very professional, knowledgeable and honest. They installed a new A/C unit and kept my place clean and they worked with precision and efficiency. Highly recommend them!
I called Signature Heating & Air this morning for a relatively simple job of installing an Ecobee smart thermostat. Quentin came right on schedule and handled it efficiently. He was very helpful and patient to show me how the thermostat worked, etc. Thanks again! I highly recommend this company.
Timely, professional and reasonable pricing. They just replaced both my AC and furnace in about 4 hours. Cleaned up and all is running smoothly. I recommend and will use again when needed.
Steve was great and very professional. He came out and got my HVAC running the same day that I called. I will be using him and his company for my any furnace and AC problems and maintenance.


.webp)
Buy Today, Pay Over Time
Wisetack - 0% APR up to 24 months (on approved credit)