


Mini Split Installation in Ennglewood, CO
A properly installed mini split delivers efficient heating and cooling year-round. For Ennglewood, CO homes, where hot summer afternoons alternate with cold, dry winters and high altitude affects equipment performance, professional mini split installation is about more than putting a head on the wall. It begins with a complete site assessment, follows industry best practices for sizing and placement, and finishes with verified performance, code compliance, and clear homeowner orientation.
Why a professional mini split installation matters in Ennglewood, CO
Mini splits are heat pump systems that provide zoned temperature control with minimal ductwork. In Ennglewood, the benefits include efficient cooling during warm summers, supplemental or primary heating during cold months, and targeted comfort control for additions, finished basements, or rooms with poor duct distribution. Because altitude and wide temperature swings influence system load and refrigerant behavior, accurate sizing and correct refrigerant charge are essential to reliable performance.
Common mini split issues in Ennglewood, CO homes
- Undersized or oversized units leading to short-cycling, humidity issues, or insufficient heating in winter.
- Poor indoor head placement that causes cold drafts, inadequate air distribution, or blocked airflow.
- Improper outdoor condenser siting where snow drift, debris, or HOA restrictions limit airflow and maintenance access.
- Inadequate electrical supply or missing dedicated circuits and disconnects.
- Condensate routing problems causing leaks or frozen drains during cold snaps.
- Incorrect refrigerant charge—altitude affects pressures and requires experienced technicians for accurate charging.
Pre-install site assessment
A thorough site assessment sets the project up for success:
- Conduct a room-by-room heat load (Manual J) to determine correct unit capacity.
- Inspect wall structure, insulation levels, window orientation, and sun exposure—factors that affect capacity and indoor head placement.
- Verify electrical service capacity and panel space for a dedicated breaker and disconnect.
- Identify outdoor condenser locations free from snow drifts, downspouts, and landscaping conflicts, and check local HOA or property restrictions.
- Note access for maintenance and line-set routing to minimize penetrations through finished walls.
Unit sizing and placement recommendations
- Use a professional load calculation rather than rule-of-thumb sizing. Ennglewood homes at higher elevation can have different heating requirements than lower-elevation areas.
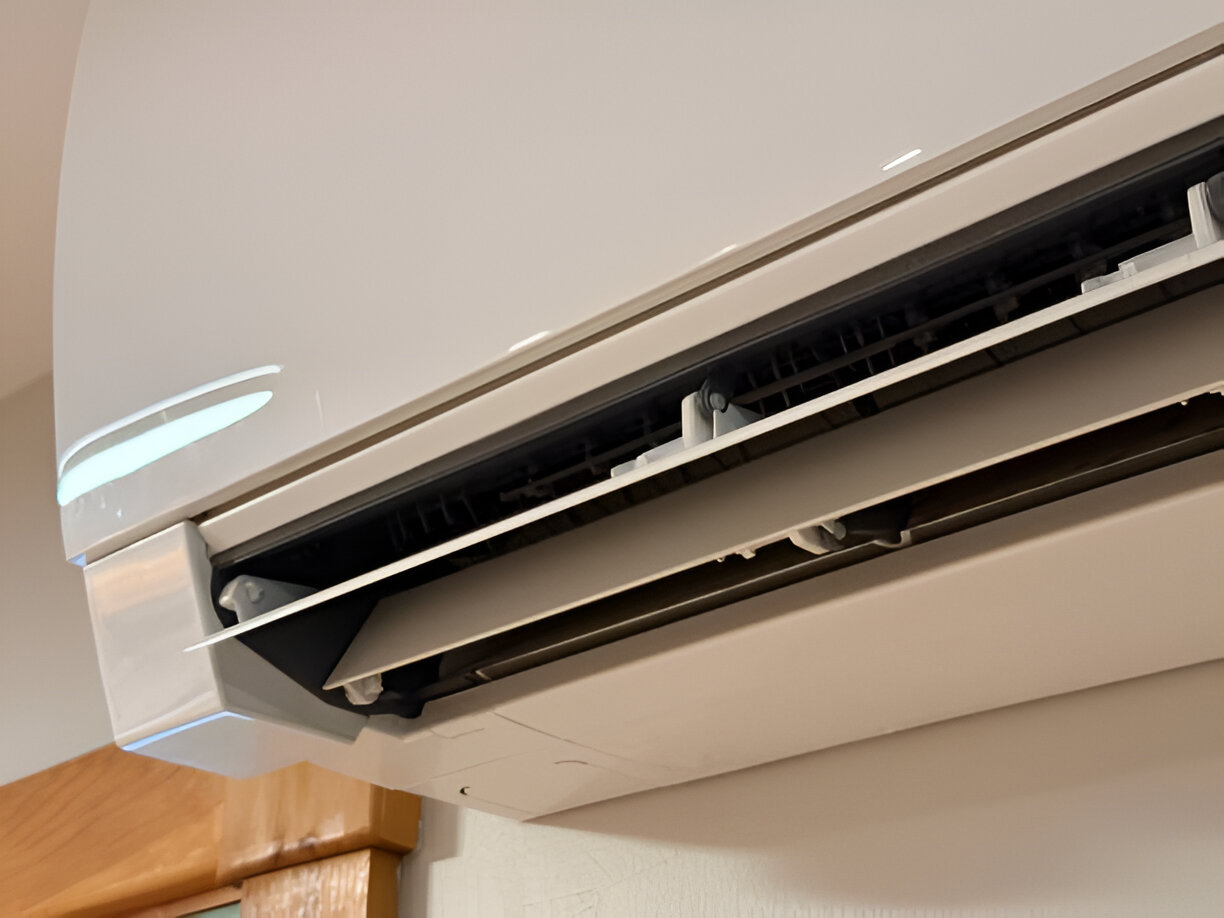
- Indoor head placement best practices:
- Install heads where airflow can reach the occupied zone without being blocked by furniture.
- Prefer interior walls or high on exterior walls with clear sightlines across the room.
- Avoid direct placement above seating where occupants feel drafts.
- For long rooms or open floor plans, consider multi-zone setups with multiple indoor units.
- Outdoor condenser siting:
- Place on a level pad or brackets above anticipated snow accumulation.
- Ensure 24–36 inches of clearance for airflow and service access.
- Locate away from bedroom windows or property lines if noise or HOA rules are a concern.
Mounting, line-set routing, and penetrations
- Indoor heads are mounted to manufacturer-specific brackets or recessed for slim profiles. Secure mounting prevents vibration and noise transmission.
- Line-sets (refrigerant, condensate, and control wiring) should be routed with minimal bends and protected in conduit where exposed. Proper insulation and sleeve seals prevent heat loss and air infiltration.
- Use insulated, vapor-tight line-set insulation rated for Colorado temperature extremes.
- Penetrations are sealed and flashed to prevent leaks and to maintain the building envelope.
Electrical and condensate considerations
- Provide a dedicated circuit and exterior disconnect per electrical code. Verify wire gauge and breaker sizing with the equipment’s electrical requirements.
- Condensate management:
- Slope and trap condensate drains correctly to avoid standing water.
- For cold-weather conditions, route condensate to an interior drain or install heated condensate solutions to prevent freezing.
- Consider condensate pumps for locations where gravity drainage isn’t available.
- Ensure proper grounding and surge protection per local electrical requirements.
Permit and code compliance
- Most mini split installations require a building or mechanical permit and inspection from local authorities. Ennglewood jurisdictional requirements may include approved line-set penetrations, electrical permits, and final inspections.
- Technicians should be EPA-certified for refrigerant handling; proper refrigerant recovery and charging protocols must be followed.
- Installations must comply with applicable mechanical codes, electrical codes (NEC), and local amendments that affect insulation, clearances, and energy efficiency requirements.
Post-install testing and homeowner orientation
After installation, thorough testing confirms the system is ready for service:
- Perform leak checks, verify refrigerant pressure and proper charge for altitude, and test electrical connections.
- Measure temperature split and airflow to confirm performance under operating conditions.
- Run heating defrost cycles and cooling tests to validate seasonal functionality.
- Provide homeowner orientation that covers:
- How to operate the indoor head, remote control, and any app or thermostat interface.
- Filter removal and cleaning frequency, basic troubleshooting steps, and how defrost cycles appear.
- Seasonal tips for winter condensate management and summer airflow optimization.
Typical timeline
- Site assessment and load calculation: single visit (1–2 hours).
- Permit submission and approval: varies by municipality; can take several days to a few weeks.
- Installation (single-zone): commonly completed in one day for straightforward retrofits; complex multi-zone systems or difficult access may require two days or more.
- Final inspection and orientation: usually completed the day of or within a few days after installation once permits are signed off.
Maintenance recommendations for reliable performance
- Clean or replace filters regularly (every 1–3 months depending on use and indoor air quality).
- Schedule annual or biannual tune-ups before heating and cooling seasons to check refrigerant charge, electrical connections, drain lines, and condensate traps.
- Keep outdoor condensers clear of snow, leaves, and debris; maintain recommended clearances.
- Inspect line-set insulation for damage and reseal wall penetrations if exterior trim or flashing degrades.
- Monitor for reduced heating capacity in winter—early service prevents frozen drains and compressor strain.
ConclusionA professional mini split installation in Ennglewood, CO requires accurate sizing, careful placement, and attention to local conditions like altitude, dry climate, and seasonal extremes. When installed and maintained correctly, mini splits provide efficient, zoned comfort and reliable heating and cooling tailored to the unique needs of Ennglewood homes.

Customer Testimonials

The team at Signature Heating & Air did an excellent job with our new AC installation. They were professional and timely from the onsite quote to the final installation. Their attention to detail was top notch and I highly recommend anyone to give them a call.

I had a very positive experience with all the folks at Signature! Very professional, knowledgeable and honest. They installed a new A/C unit and kept my place clean and they worked with precision and efficiency. Highly recommend them!
I called Signature Heating & Air this morning for a relatively simple job of installing an Ecobee smart thermostat. Quentin came right on schedule and handled it efficiently. He was very helpful and patient to show me how the thermostat worked, etc. Thanks again! I highly recommend this company.
Timely, professional and reasonable pricing. They just replaced both my AC and furnace in about 4 hours. Cleaned up and all is running smoothly. I recommend and will use again when needed.
Steve was great and very professional. He came out and got my HVAC running the same day that I called. I will be using him and his company for my any furnace and AC problems and maintenance.


.webp)
Buy Today, Pay Over Time
Wisetack - 0% APR up to 24 months (on approved credit)