


Mini Split Installation in Centennial, CO
Installing a ductless mini split in Centennial, CO is an effective way to add zoned heating and cooling to homes dealing with high-altitude winters and hot, dry summers. A professional mini split installation protects your investment, ensures peak efficiency, and prevents common performance issues like short cycling, poor dehumidification, and uneven room temperatures. This page explains what to expect from a complete installation: from pre-install consultation and load calculations to commissioning, user training, and warranty coverage, all tailored to Centennial homes and local conditions.
Why a professional installation matters in Centennial, CO
Centennial’s climate and elevation affect system choice and installation details. Cold winter nights require reliable reverse cycle heating capability, while the wide temperature swings and lower humidity demand correct sizing and proper controls. A qualified installation:
- Ensures the unit is rated and adjusted for high-altitude operation and Colorado climate needs.
- Prevents common problems from improper placement or incorrect refrigerant charge.
- Complies with local electrical and building codes that may vary across Arapahoe County and surrounding jurisdictions.
Common mini split issues in Centennial, CO homes
Homeowners often see the same problems when installations are rushed or DIY:
- Incorrect sizing causing short cycling or inadequate heating in winter.
- Poor placement that leads to uneven temperatures or blocked airflow.
- Inadequate condensate drain routing causing leaks or mold risk.
- Line-set routing that creates excess heat loss or refrigerant loss across long runs.
- Electrical circuit undersizing or lack of a dedicated breaker.
- Excess vibration or noise due to improper mounting.All of these are addressed during a professional installation process.
Pre-install consultation and load calculations
A thorough installation begins with a site visit and consultation:
- Room-by-room load calculations using manual J style methods to determine required capacity. This accounts for insulation levels, window orientation, ceiling height, occupancy, and local winter design temperatures.
- Assessment of existing electrical service and panel capacity to determine whether a new dedicated circuit or subpanel is needed.
- Discussion of preferred indoor unit locations for comfort, aesthetics, and line-of-sight to minimize drafts.
- Review of outdoor unit placement options for accessibility, airflow, noise concerns, and municipal setback requirements.These steps ensure the right-sized system and a clear plan that suits your home and Centennial’s climate.
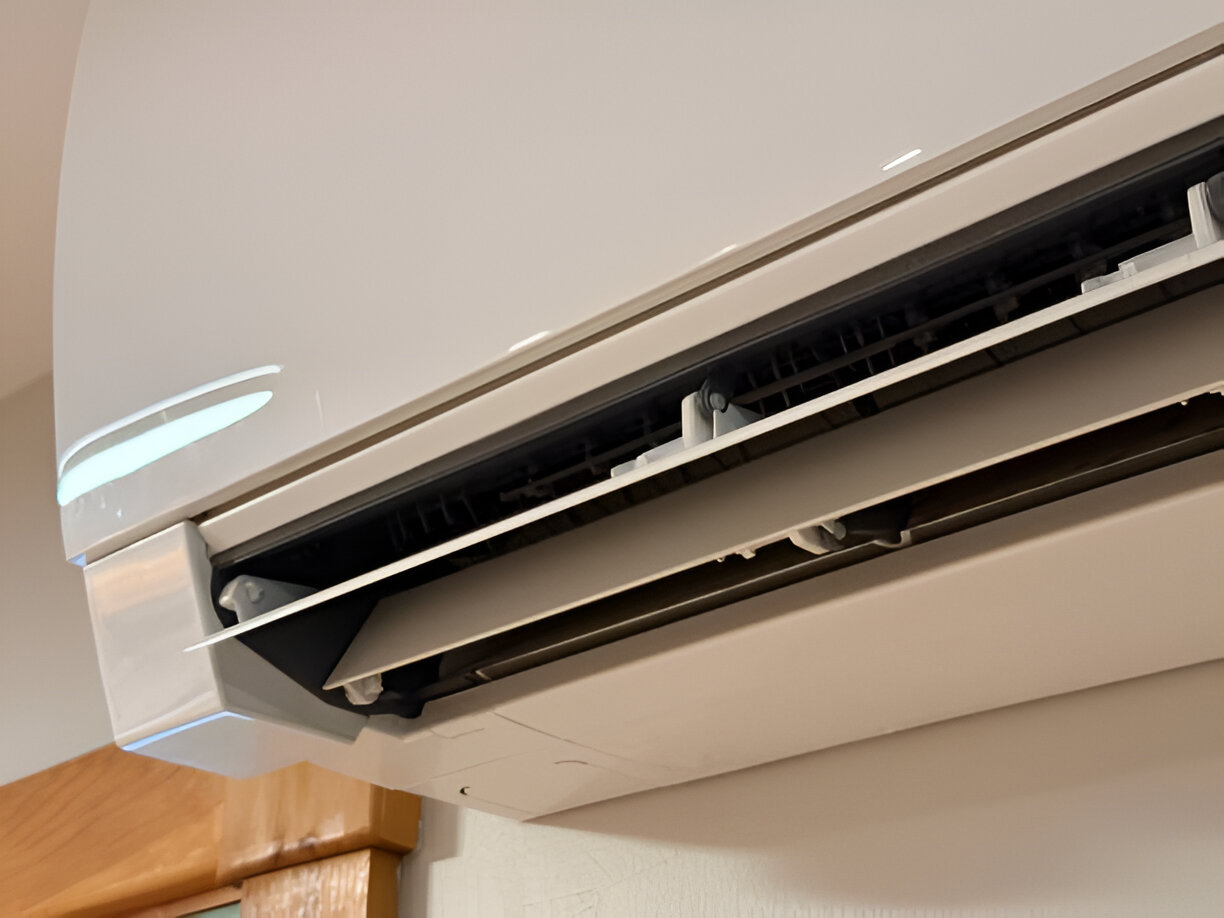
Indoor and outdoor unit placement, and line-set routing
Proper placement maximizes comfort and efficiency:
- Indoor units are typically mounted high on the wall, in hallways, or in living areas to ensure even air distribution. Multi-zone installations consider sightlines and door openings for balanced air delivery.
- Outdoor condenser location is chosen for clear airflow, minimal vibration transfer to the home, snow clearance in winter, and convenient service access. Concrete pads or vibration isolators are commonly used.
- Line-set routing is planned to minimize length and bends while maintaining a neat penetration through exterior walls. Short, straight line sets reduce refrigerant charge needs and potential performance loss.
- Drain lines are sloped properly and routed to avoid freezing risks during Centennial’s cold snaps.
Electrical and mounting requirements
Safe, code-compliant electrical work is essential:
- Most mini splits require a dedicated circuit and a disconnect near the outdoor unit. The installer will verify breaker sizing per the unit’s nameplate and local codes.
- High-altitude considerations and voltage drop for long runs are checked and corrected if necessary.
- Secure mounting brackets, wall plates, or recessed housings are installed for indoor units to ensure level positioning and reduce vibration. Outdoor units are mounted on pads or brackets with anti-vibration measures.
Steps of the professional installation process and timeline
Typical timelines depend on system complexity:
- Single-zone install: 4 to 8 hours for a straightforward wall-mounted system.
- Multi-zone or complex installs: 1 to 2 days, depending on number of heads and routing complexity.Standard installation stages:
- Site preparation and marking of penetrations.
- Mounting indoor unit brackets and drilling small exterior penetrations for line set, drain, and wiring.
- Installing and routing line set, refrigerant lines, drain, and control wiring between indoor and outdoor units.
- Securing the outdoor unit on a pad or bracket and connecting electrical.
- Evacuating, leak-testing, and charging the refrigerant circuit to manufacturer specifications, accounting for line length and altitude requirements.
- Mounting covers, testing operation, and final clean up.
Site preparation and cleanup
A professional team minimizes disruption:
- Protective coverings are used for floors and furniture.
- Work areas are kept clean, with debris removed at the end of each day.
- Penetrations are sealed neatly and trimmed; exterior wall patches or small escutcheons may be installed for a finished look.
- Post-installation cleanup includes clearing out packaging, removing dust, and ensuring condensate drains are flowing properly.
Post-install commissioning and user training
Commissioning is the step that ensures real-world performance:
- Technicians run the system through heating and cooling modes, verify airflow, measure temperature differentials, and confirm proper defrost cycles in heating mode.
- System controls are configured, timers and temperature limits are set, and any multi-zone balancing is adjusted.
- Leak checks and final pressure verification are completed.User training covers:
- Basic operation of wall controllers or apps, scheduling, and energy-saving modes.
- Filter removal and cleaning intervals, and how to recognize common error codes.
- Simple troubleshooting steps, such as resetting the system and clearing condensate traps.
Warranty and documentation
A professional installation includes documentation of warranties and system information:
- Manufacturer’s warranty typically covers the compressor and major components for a specified period; parts warranty duration varies by brand.
- Installers commonly provide a labor warranty covering the workmanship for a stated period. Be sure to ask about warranty lengths and registration requirements.
- You should receive operation manuals, warranty cards, and a record of installation settings, refrigerant charge, and electrical connections for future service needs.
Long-term benefits and maintenance for Centennial homes
With the right installation, a mini split delivers:
- Zoned comfort with efficient heating and cooling tailored to how rooms are used.
- Reduced energy waste compared to whole-house systems, especially in homes with partial occupancy patterns.
- Reliable cold-climate performance when the system is rated and installed for Centennial’s winters. Recommended maintenance:
- Clean or replace filters every 1 to 3 months depending on use and indoor air quality.
- Annual professional checkups to verify refrigerant charge, electrical connections, condensate drains, and defrost performance.
- Prompt attention to odd noises, reduced airflow, or error codes to prevent larger issues.
A professional mini split installation in Centennial, CO combines correct sizing, careful placement, precise refrigerant handling, and code-compliant electrical work to deliver reliable comfort through Colorado’s seasonal extremes. Proper commissioning and homeowner training ensure you get consistent performance and peace of mind for years to come.

Customer Testimonials

The team at Signature Heating & Air did an excellent job with our new AC installation. They were professional and timely from the onsite quote to the final installation. Their attention to detail was top notch and I highly recommend anyone to give them a call.

I had a very positive experience with all the folks at Signature! Very professional, knowledgeable and honest. They installed a new A/C unit and kept my place clean and they worked with precision and efficiency. Highly recommend them!
I called Signature Heating & Air this morning for a relatively simple job of installing an Ecobee smart thermostat. Quentin came right on schedule and handled it efficiently. He was very helpful and patient to show me how the thermostat worked, etc. Thanks again! I highly recommend this company.
Timely, professional and reasonable pricing. They just replaced both my AC and furnace in about 4 hours. Cleaned up and all is running smoothly. I recommend and will use again when needed.
Steve was great and very professional. He came out and got my HVAC running the same day that I called. I will be using him and his company for my any furnace and AC problems and maintenance.


.webp)
Buy Today, Pay Over Time
Wisetack - 0% APR up to 24 months (on approved credit)