


Mini Split Installation in Greenwood Village, CO
Installing a mini split is one of the most effective ways to add quiet, efficient heating and cooling to individual rooms or whole-floor zones. For Greenwood Village, CO homes, a professional mini split installation balances Colorado elevation and seasonal extremes with careful sizing, placement, and code-compliant work. This page walks through what a typical installation includes, the reasons for a professional approach, and what homeowners should expect before, during, and after installation.
Why choose a professionally installed mini split in Greenwood Village, CO
- Modern mini splits offer efficient cooling during hot Front Range summers and reliable heating during cold, dry winters when sized and installed correctly.
- Greenwood Village sits at higher elevation and experiences wide temperature swings. That affects heat pump performance, refrigerant behavior, and airflow needs, making accurate load calculations and cold-climate equipment selection important.
- Proper installation protects manufacturer warranties, ensures compliance with local building and electrical codes, and reduces the chance of common issues like insufficient capacity, refrigerant leaks, or poor airflow.
Common mini split issues in Greenwood Village, CO homes
- Undersized units that struggle on the coldest winter nights or during peak summer heat.
- Poor indoor unit placement causing uneven temperatures or uncomfortable drafts.
- Outdoor unit siting problems from snow accumulation or excessive sun exposure.
- Long or poorly routed line sets that reduce efficiency and risk refrigerant problems.
- Electrical service not sized for additional circuits or missing required disconnects.
- Lack of proper commissioning and performance testing leading to reduced lifetime efficiency.
Pre-installation assessment: what professionals check
Load calculations
- Detailed room-by-room heat gain and heat loss calculations account for insulation, window exposure, occupancy, and local climate to determine correct capacity.
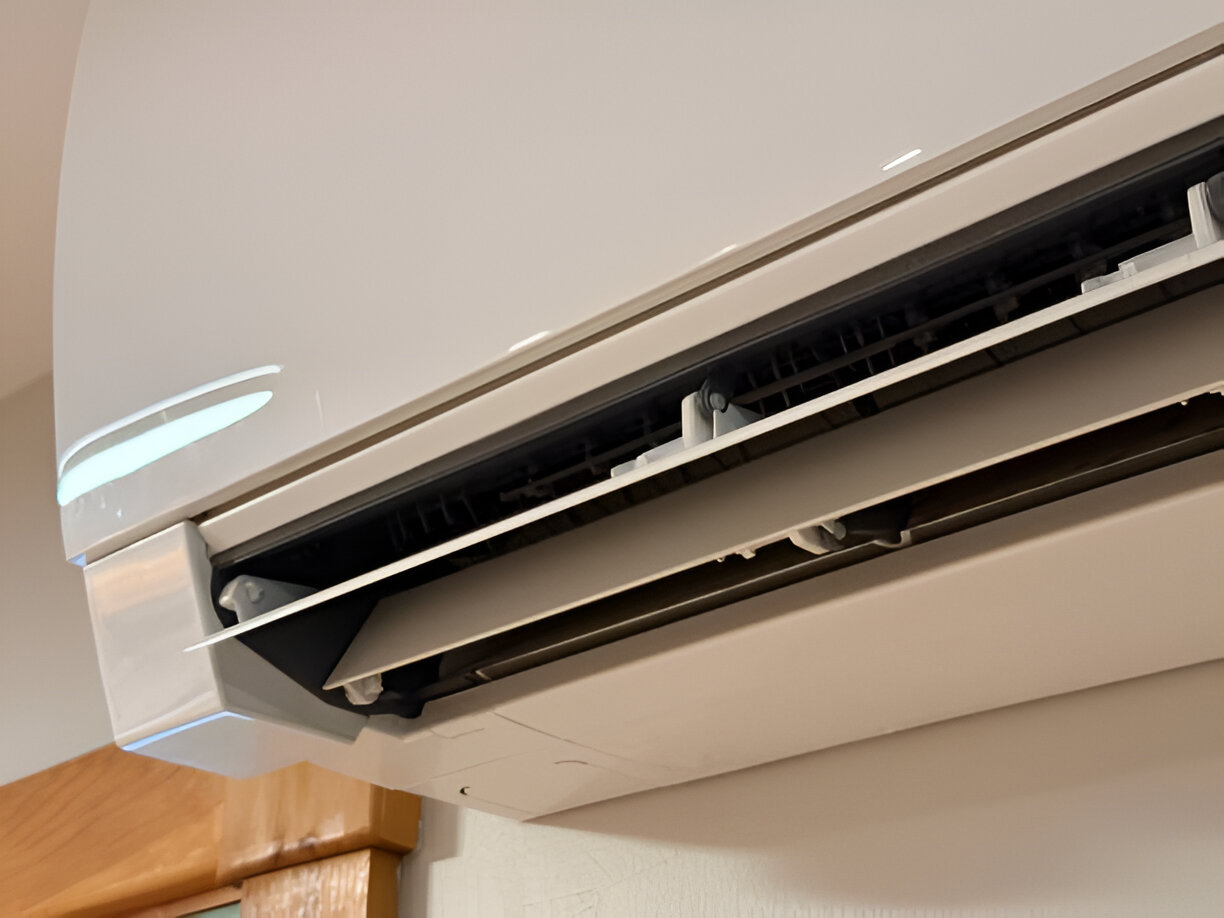
Indoor unit placement
- Optimal placement balances comfort, airflow patterns, noise considerations, and aesthetic preferences while avoiding direct sunlight or obstructed returns.
Outdoor unit siting and line set routing
- Location considers snow clearance, airflow, ease of service, and shortest practical line set routing to limit refrigerant length and prevent performance loss.
Electrical requirements
- Review of existing service capacity, need for dedicated circuits, proper disconnects, and any subpanel work required to meet Greenwood Village and Arapahoe County codes.
Permits and HOA considerations
- Verification of required mechanical and electrical permits with local authorities, and discussion of exterior unit placement relative to HOA rules or architectural guidelines.
Step-by-step professional installation process
Final site prep
- Confirm access, protect floors and furnishings, and mark indoor and outdoor equipment locations.
Mounting indoor units
- Install wall brackets or ceiling mounts, ensuring secure, level placements and correct clearance for airflow and maintenance.
Drilling and line set routing
- Create a small, sealed penetration through the exterior wall or ceiling for refrigerant lines, condensate drain, and electrical wiring. Route lines for shortest, serviceable path and install vapor barrier as needed.
Installing outdoor unit
- Place on a level pad, bracket, or curb set above expected snow level. Secure to prevent vibration and ensure proper airflow clearance.
Electrical connections
- Install dedicated circuit, disconnect, and complete wiring per code. Verify grounding and overcurrent protection.
Refrigerant connections and evacuation
- Braze or flare fittings per manufacturer instructions, pressure test for leaks, and evacuate to required vacuum level to remove moisture and noncondensables.
Charging and system setup
- Charge refrigerant per manufacturer weight or charging method appropriate for elevation. Program system controls, wireless remotes, or app integration.
Commissioning and performance testing
- Verify correct airflow, temperatures, sound levels, and electrical draw. Confirm heating capacity at low outdoor temperatures if applicable.
Typical project duration
- Single-room installations often complete in one day, including permitting pre-checks, installation, evacuation, and commissioning.
- Multi-zone systems or homes requiring electrical upgrades, structural work, or multiple indoor units can take 2 to 4 days depending on complexity and permit timelines.
- Permit approvals and HOA reviews can extend total project time; these are addressed during pre-install assessment.
Compliance with local codes and permits
- Greenwood Village and Arapahoe County generally require mechanical and electrical permits for mini split installations. Proper permits ensure installations meet safety, electrical, and ventilation standards.
- Inspections commonly verify secure mounting, proper wiring and disconnects, correct refrigerant handling practices, and compliance with energy or mechanical codes that apply locally.
- Homeowners in neighborhoods with HOAs should verify exterior unit placement and any required aesthetic approvals ahead of installation.
Post-installation commissioning and performance verification
- A full commissioning includes temperature split checks, refrigerant pressure review, airflow and static pressure checks, and electrical load verification.
- Technicians document system settings, indoor and outdoor unit serial numbers, and measured performance values. This documentation is often required to register manufacturer warranties.
- Homeowner orientation explains normal operation modes, filter cleaning, scheduling, and app or remote functions.
Warranty and maintenance handover
- Properly documented installations help preserve manufacturer warranties. Technicians normally review warranty terms, maintenance intervals, and recommended service plans during handover.
- Routine maintenance items include cleaning or replacing filters periodically, clearing outdoor unit area of snow and debris, checking drain lines, and scheduling annual performance checks.
- Cold climate maintenance focuses on ensuring outdoor units remain free of ice buildup and that defrost cycles operate correctly during winter.
Tips for preparing your Greenwood Village home for installation
- Clear a work area near proposed indoor and outdoor unit locations. Move light furniture and cover valuables to prevent dust.
- Ensure easy exterior access and identify any HOA or neighborhood requirements for equipment visibility.
- Confirm parking or staging area for installation crew and lift equipment if needed for second-floor installations.
- Make a note of desired indoor unit locations and any interior design constraints to discuss during final placement review.
Final considerations
A correctly sized and installed mini split can provide quiet, zoned comfort that matches Greenwood Village climate demands while maintaining energy efficiency. Emphasizing accurate load calculations, attention to elevation effects, code-compliant electrical work, and thorough commissioning protects system performance and warranty coverage. With proper pre-install assessment and professional execution, mini split installation in Greenwood Village, CO delivers reliable year-round comfort and long-term value.

Customer Testimonials

The team at Signature Heating & Air did an excellent job with our new AC installation. They were professional and timely from the onsite quote to the final installation. Their attention to detail was top notch and I highly recommend anyone to give them a call.

I had a very positive experience with all the folks at Signature! Very professional, knowledgeable and honest. They installed a new A/C unit and kept my place clean and they worked with precision and efficiency. Highly recommend them!
I called Signature Heating & Air this morning for a relatively simple job of installing an Ecobee smart thermostat. Quentin came right on schedule and handled it efficiently. He was very helpful and patient to show me how the thermostat worked, etc. Thanks again! I highly recommend this company.
Timely, professional and reasonable pricing. They just replaced both my AC and furnace in about 4 hours. Cleaned up and all is running smoothly. I recommend and will use again when needed.
Steve was great and very professional. He came out and got my HVAC running the same day that I called. I will be using him and his company for my any furnace and AC problems and maintenance.


.webp)
Buy Today, Pay Over Time
Wisetack - 0% APR up to 24 months (on approved credit)