


Mini Split Installation in Foxfield, CO
Mini split installation in Foxfield, CO provides an efficient, flexible way to heat and cool individual rooms or whole homes without ductwork. For Foxfield homeowners dealing with cold, snowy winters and warm, dry summers at higher elevation, a properly sized cold-climate mini split can deliver reliable heating performance, quieter operation, and improved energy savings compared with space heaters or oversized window units. This page explains the installation process, what to expect on-site, code and permit concerns in Foxfield, CO, and the tests and maintenance steps that keep your system running well.
Why Foxfield homes choose mini splits
- Local winters are cold and often extended, so efficient electric heat pumps designed for low temperatures are important.
- Many homes in the area have limited or aging duct systems; mini splits provide zoned comfort without ductwork.
- Higher elevation and dry air can affect heat pump performance; selecting cold-climate-rated units and correct sizing prevents short cycling and comfort gaps.
Common mini split installation types and problems in Foxfield
- Single-zone wall-mounted systems for bedrooms or home offices.
- Multi-zone systems serving living areas, master suites, and basements.
- Ceiling cassette or floor-mounted heads where wall space is limited.
- Typical issues seen before installation: undersized systems, no proper electrical circuit, limited exterior mounting locations, and HOA or county aesthetic restrictions.
Site assessment and load calculation
A thorough site assessment and proper load calculation are the first critical steps for a successful mini split installation in Foxfield, CO.
What the assessment covers:
- Room-by-room Manual J heat load to determine heating and cooling capacity needs, accounting for local climate, elevation, insulation levels, window orientation, and occupant patterns.
- Inspection of existing electrical service and panel capacity to determine whether a dedicated circuit or service upgrade is needed.
- Structural review for outdoor condenser placement and indoor head mounting—checking wall depth, stud location, and routing options for refrigerant lines and condensate.
- HOA or county code review to identify appearance or placement restrictions.
Why Manual J matters here:
- Elevated temperatures and thin air at higher elevations change heat transfer characteristics. Manual J ensures the selected cold-climate heat pump meets both peak winter demands and summer cooling needs without oversizing.
Placement options for indoor and outdoor units
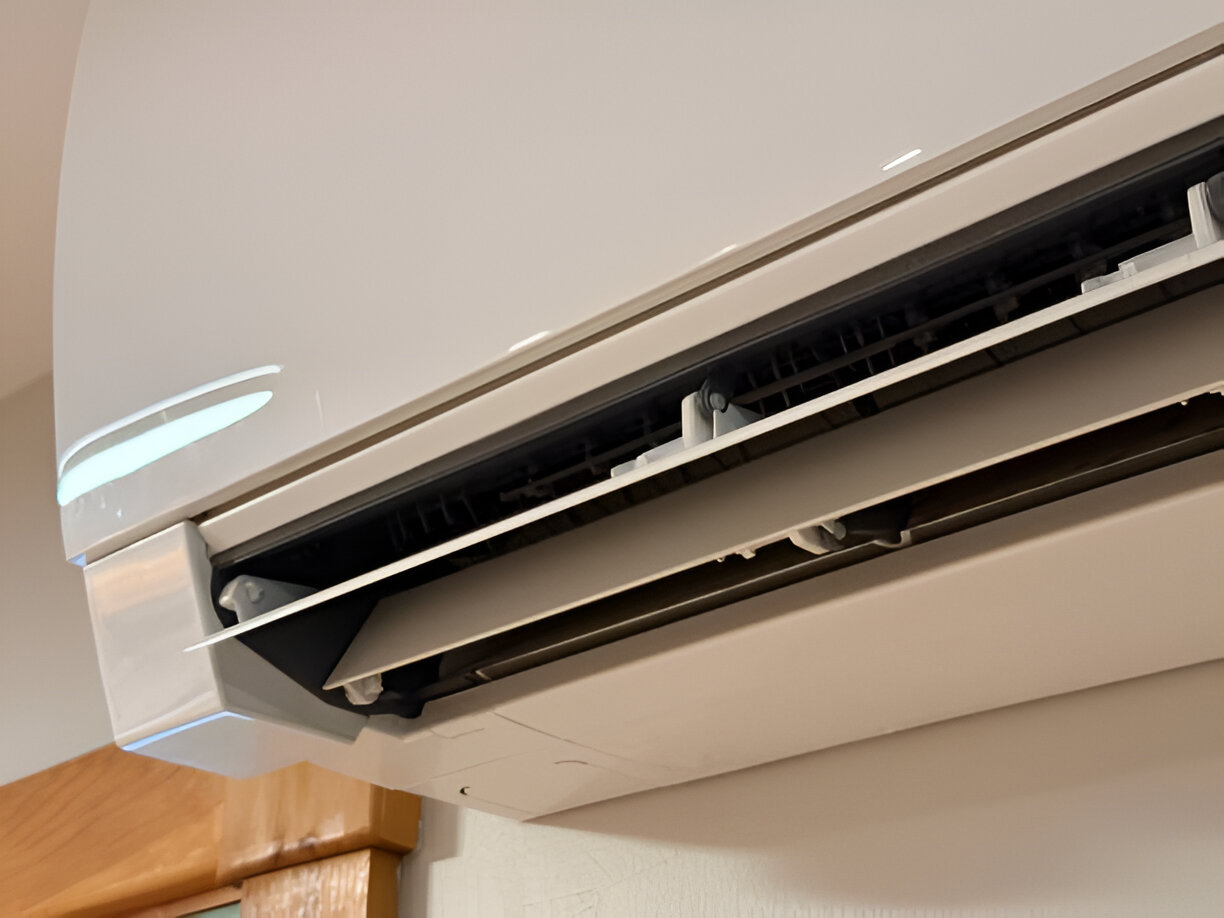
Indoor unit choices and considerations:
- Wall-mounted: Most common, efficient, and simple to install; suitable for bedrooms and living rooms.
- Ceiling cassette: Best for open floor plans and where wall space is limited; requires a false ceiling cavity.
- Floor/low wall units: Good for retrofits and rooms with low walls or lots of glass.
Outdoor unit considerations:
- Location should allow at least the manufacturer-recommended clearances for airflow and service access.
- Mounting on a concrete pad, vibration-isolating brackets, or raised stands protects the unit from snow buildup and ice.
- Position away from prevailing wind or heavy snowdrifts to minimize frequent defrost cycles and snow/ice accumulation.
- Ensure sound and visual placement complies with local ordinances or HOA rules.
Step-by-step installation process
- Finalize indoor head locations and route planning based on the assessment.
- Install mounting plates or supports for indoor heads and secure outdoor condenser pad or brackets.
- Core drill a small hole through the wall for the refrigerant line set, condensate drain, and communication wiring; keep penetrations sealed and insulated.
- Run refrigerant lines and electrical wiring between indoor and outdoor units; length and elevation differences must stay within manufacturer limits.
- Evacuate and vacuum the refrigerant lines to remove moisture and air, then charge the system according to specifications (factory precharged line sets may be used).
- Connect electrical power, set up the system controller, and program basic operating parameters.
- Verify drain lines slope properly and are protected from freezing; install insulated drain lines where required.
- Seal and finish wall penetrations; restore any disturbed finishes.
Every step follows manufacturer instructions and industry best practices to protect warranties and ensure efficient operation.
Permits and code compliance in Foxfield, CO
- Permits: Most installations require a mechanical or electrical permit from Douglas County or the local permitting authority. Permit types depend on the scope, such as new circuits or structural work.
- Electrical code: Installations must meet National Electrical Code requirements and local amendments, such as dedicated breakers, disconnects, and proper grounding.
- Refrigerant handling: Technicians must follow EPA refrigerant regulations regarding handling, recovery, and recordkeeping.
- HOA considerations: Many Foxfield neighborhoods have design standards; verify allowable outdoor unit placement and screening options before installation.
- Inspections: A final inspection by the local authority may be required to confirm code compliance.
Estimated project duration
- Single-zone wall-mounted system: typically completed in one day if electrical is already sufficient and there are no access challenges.
- Multi-zone systems or jobs requiring electrical upgrades, concrete pads, or permit turnaround: commonly two to three days from start to finish, plus any time needed for permitting and inspections.
- Weather and snowfall may affect scheduling and outdoor work windows in winter months.
Pre- and post-install testing and verification
Before turning the system over:
- Leak test and vacuum verification of the refrigerant circuit to ensure integrity.
- Electrical checks: voltage, amperage draw, and correct breaker sizing.
- Operational check: confirm heating and cooling modes, thermostat communication, inverter operation, and defrost cycles for cold-weather performance.
- Airflow and temperature verification: measure supply and return temps to confirm expected delta T and proper airflow.
- Condensate drainage test to ensure reliable removal of moisture.
Document test results and operating parameters so homeowners know the baseline performance.
Customer preparation and maintenance advice
Preparing your home:
- Clear access to the preferred indoor wall and outside condenser location before work begins.
- If pets or occupants are sensitive to noise or dust, make arrangements to limit disruption during installation.
- Share HOA information and property setback requirements in advance.
Maintenance tips to extend system life:
- Clean or replace indoor filters every 1 to 3 months, depending on use and indoor air quality.
- Keep outdoor condensers free of snow, leaves, and debris; maintain recommended clearances for airflow.
- Schedule annual professional tuneups in the fall to verify heating performance and again in spring for cooling prep. Technicians should inspect line insulation, refrigerant charge, electrical connections, and defrost function.
- Monitor for unusual sounds, reduced airflow, or sudden performance changes and address them quickly to avoid more extensive repairs.
Why timely, professional installation matters
A properly planned and executed mini split installation in Foxfield, CO ensures efficient operation in your local climate, avoids common pitfalls like undersizing or improper refrigerant charging, and meets local code and HOA requirements. Investing in correct site assessment, quality installation practices, and routine maintenance preserves comfort, protects equipment life, and maximizes the energy benefits that mini splits offer for homes in this region.

Customer Testimonials

The team at Signature Heating & Air did an excellent job with our new AC installation. They were professional and timely from the onsite quote to the final installation. Their attention to detail was top notch and I highly recommend anyone to give them a call.

I had a very positive experience with all the folks at Signature! Very professional, knowledgeable and honest. They installed a new A/C unit and kept my place clean and they worked with precision and efficiency. Highly recommend them!
I called Signature Heating & Air this morning for a relatively simple job of installing an Ecobee smart thermostat. Quentin came right on schedule and handled it efficiently. He was very helpful and patient to show me how the thermostat worked, etc. Thanks again! I highly recommend this company.
Timely, professional and reasonable pricing. They just replaced both my AC and furnace in about 4 hours. Cleaned up and all is running smoothly. I recommend and will use again when needed.
Steve was great and very professional. He came out and got my HVAC running the same day that I called. I will be using him and his company for my any furnace and AC problems and maintenance.


.webp)
Buy Today, Pay Over Time
Wisetack - 0% APR up to 24 months (on approved credit)